Wednesday, November 25, 2009

L4D map update

Map layout is now complete and has now entered Alpha stage. Following done:

- Geometry layout is complete.
- Textures are complete.
- Basic props are now added.
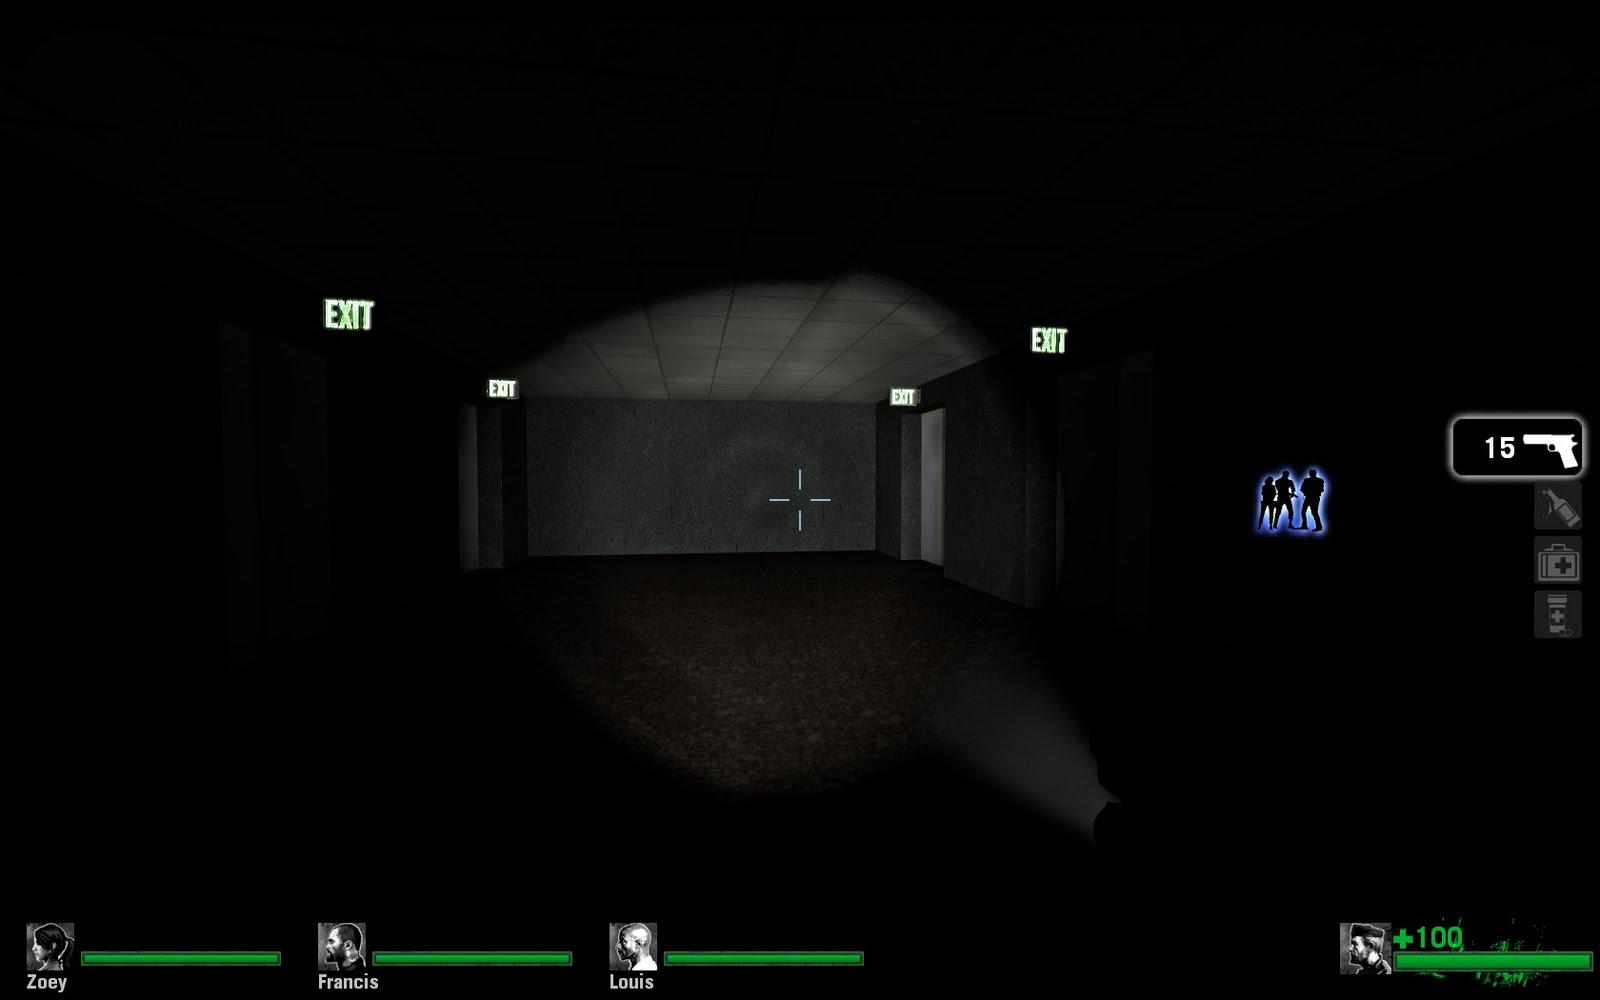
- Player start, weapon spawns, med kits are now added.
- Info director is now added. This is required for the Source engine to run the Director A.I.
- Skybox is complete. The outside brush box to display the outside environment sky.
- Cubical desks are now in place around the call center.
- Elevator room is now complete.
- Lighting is now added around the map.

To do list:

- Adjust lighting to make the map feel more of a survival-horror scenario.
- Finish placing all decals.
- Add mechanics for the elevator to be player controled.
- Finish adding more props. (computers, dead bodies, more blood, trash, etc)
- Add NAV markers.
- Begin actual gameplay testing, correct bugs, and polish.


Monday, November 9, 2009

I've found my calling card

After working on the castle, I've started to play around with Level editors. Have done so in the past with games like Doom. Textures and 3D creation is nice, but my heart has always been with environment/game level design. Currently I took up the Hammer editor from Valve Software and starting to create a campaign for the game "Left 4 Dead". First map takes place in a call center in a skyscraper, which I reference from a building I use to work as a fellow QA Tester. After sketching out a 2D map, I've started placing out the geometry of the level. The props are being used to help me scale the map, which I don't want it to be either too big or too small when the player starts to move around.


Focus at this time is the geometry and closing it off. I don't like half done work, so heavy testing is done to ensure there are no sink holes in the map. Once that is done, NAV points will be added for the survivor bots and the Horde infected. Final phase, textures and polish. Most important, making sure the map is fun. :)

Rooms, buildings, and lighting

Little bit of a old room model that was done a few years ago under my previous instructor Gerald Jo. At this time I had no knowledge of creating my own textures, so the textures that came with 3D Studio Max was used as placeholders.


This is a current image of a outside environment project under my texture instructor, Dori Zaki. Focus was textures, but knowing myself I can't do something basic at this time since I know more can be done to improve it. So the project became a outside castle with textures and lighting. Special thanks to Dori for teaching me this cool water reflecting effect. Progress has been long, but practice over the years do help pay out in the end.


My only drawback was not being able to do more polish work on the castle and the bridge model. Also add my own custom trees. Time was against me, so I had to cut it short. These were the final renders of work done in six weeks time.

Older Tiger Tank render


Low poly Tiger Tank. This was my second model during my first years as a Game Art & Design student. Used a side and front blueprint diagram as a reference. Some things I wished was done was making a animation for the wheel tracks and correcting the square shape of the main gun noise.

First 3D Studio Max model

A long journey it has been since I first started to learn 3D Studio Max. This is a custom sword reference from Egyptian culture that I've worked on four years ago. My instructor during this project was Gerald Jo, who was very helpful in guiding me for the first time.